MY BUILD / YOUR STARTING POINT
CUSTOM
RACK PANELS.
THE CUSTOM PANEL
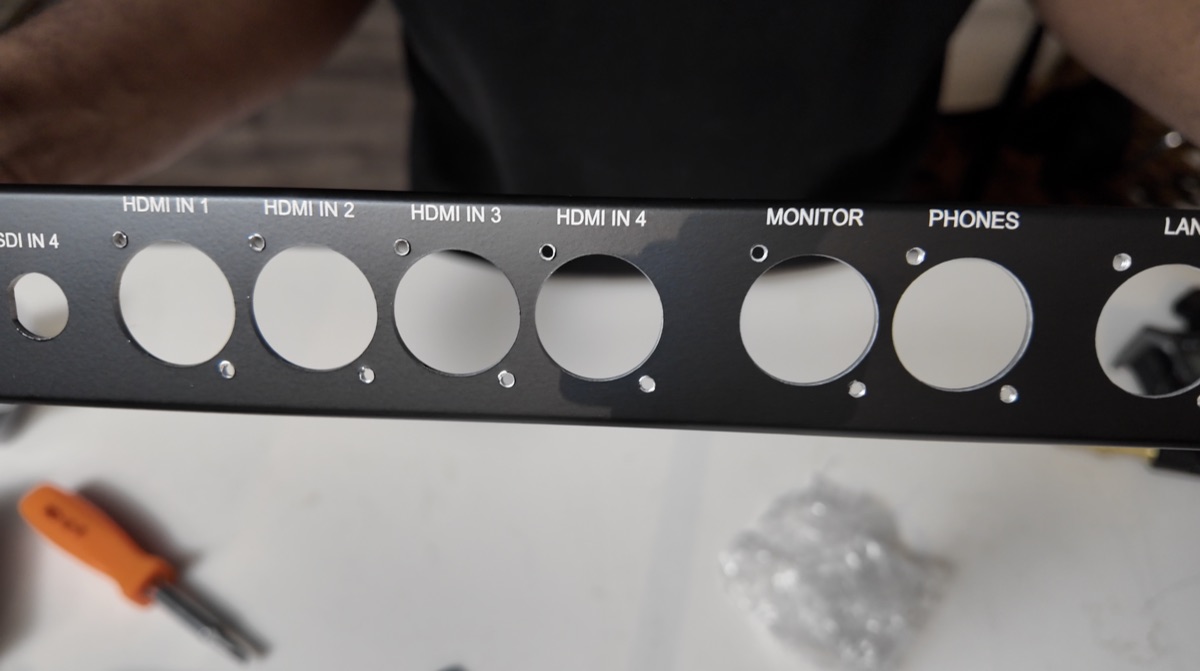
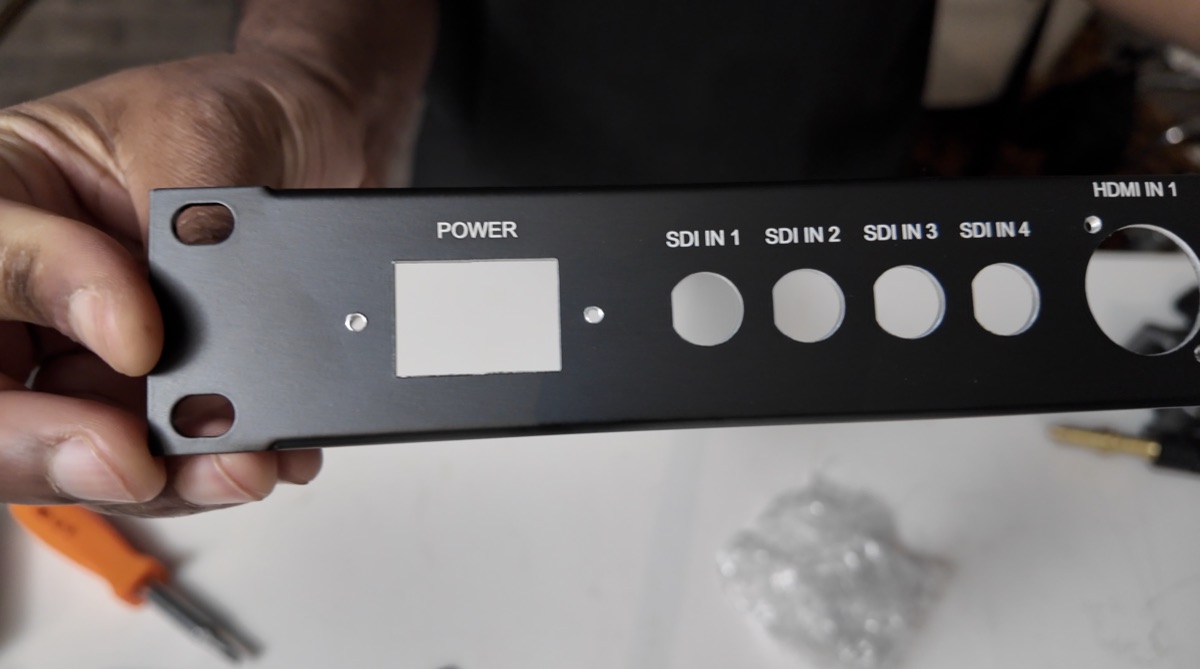
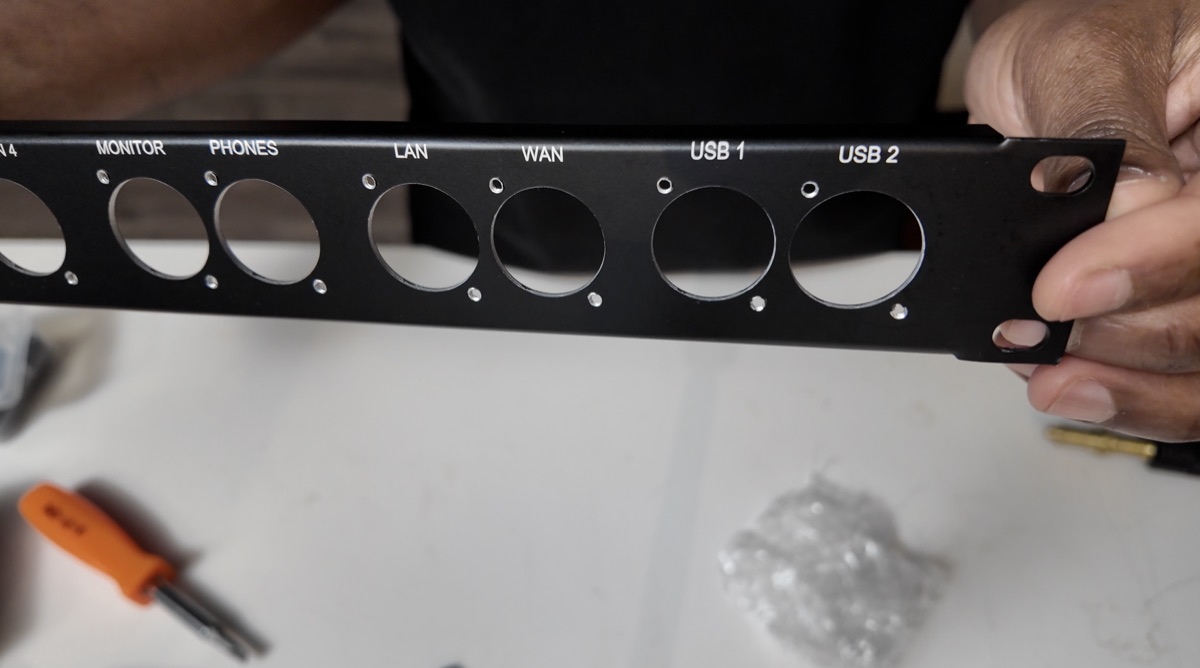
My panel design and the connectors I use for video, audio, network, and USB.
Start with the panel.
Open my saved design in Penn Elcom’s Panel Designer, then adjust the layout and labels to suit your fly pack.
PENN ELCOM PANEL DESIGNEROpen my custom panelID / 635040-e295c4The cutout reference shows the IEC 320 inlet, rotated BNC, and XLR D-series shapes.

THE CONNECTORS
05 PARTSSome links are affiliate links. I may earn a commission if you buy through them, at no extra cost to you. As an Amazon Associate I earn from qualifying purchases.
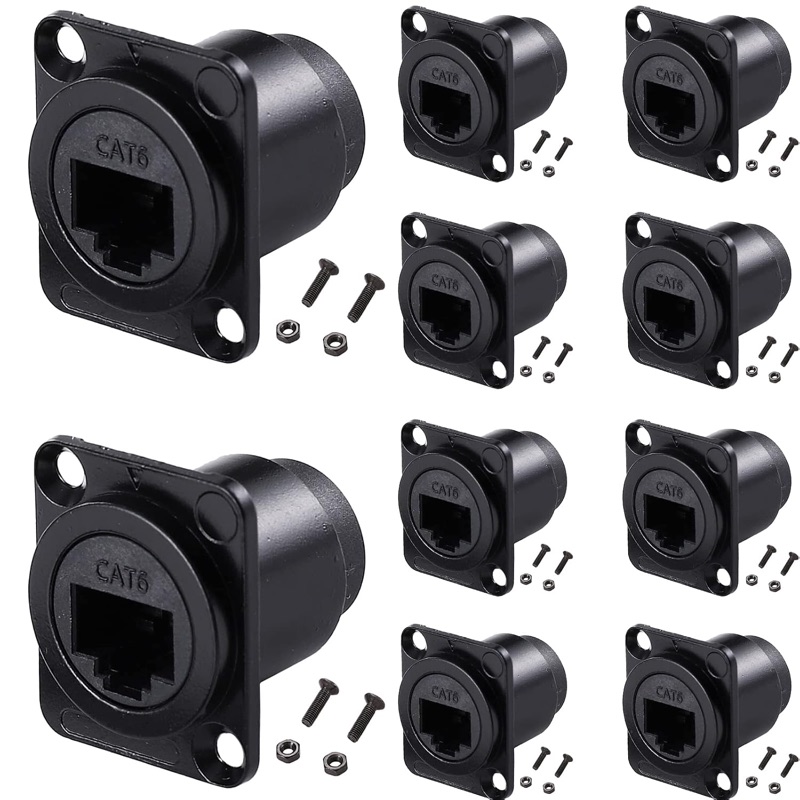
Shielded RJ45
Panel mount connector
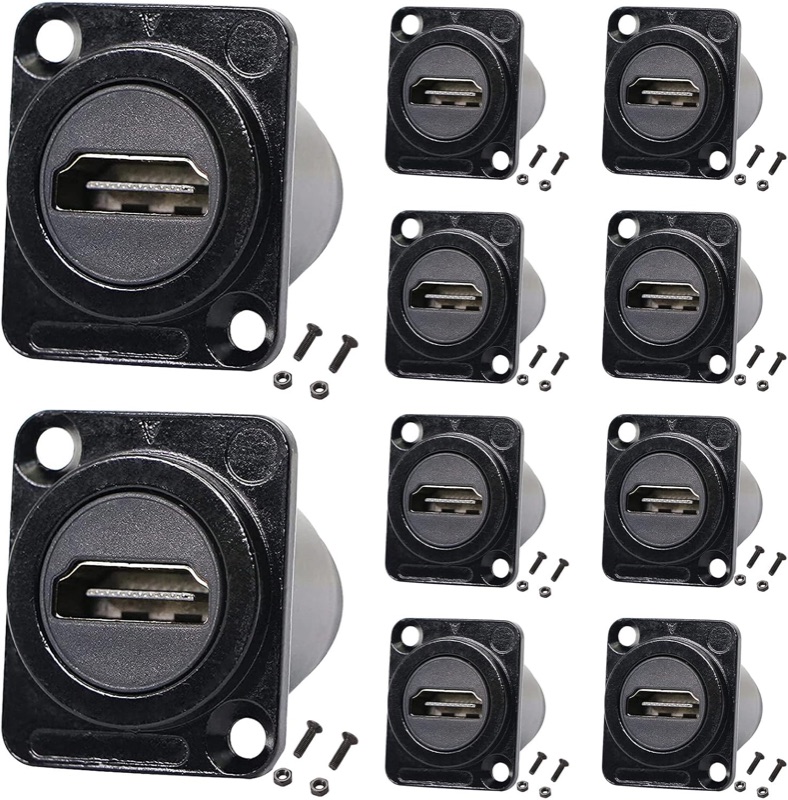
HDMI pass through
D-Type panel mount connector
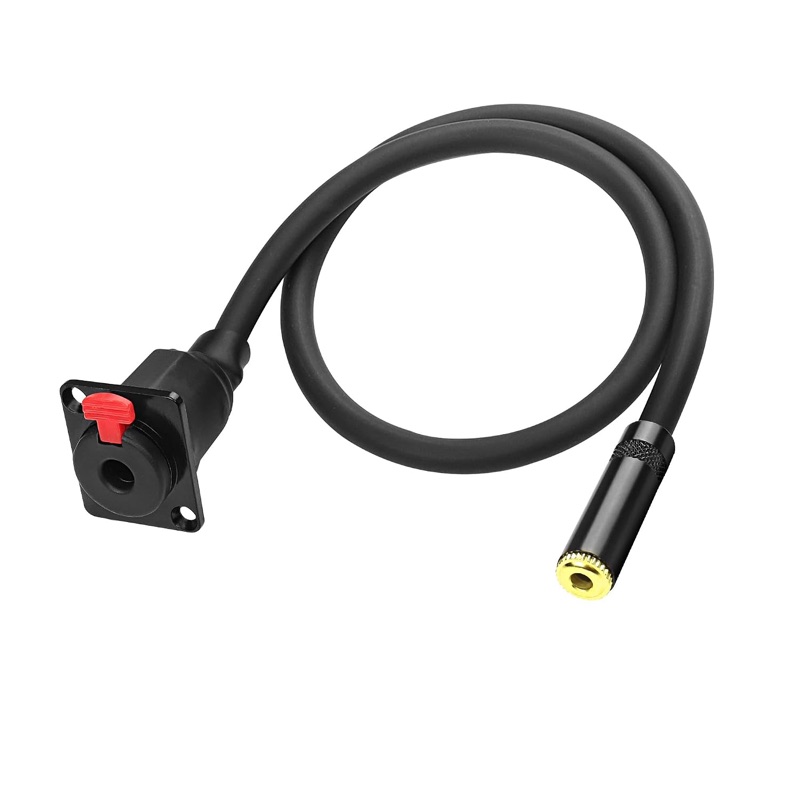
1/4" to 3.5 mm
Female panel mount to 1/8" female stereo audio
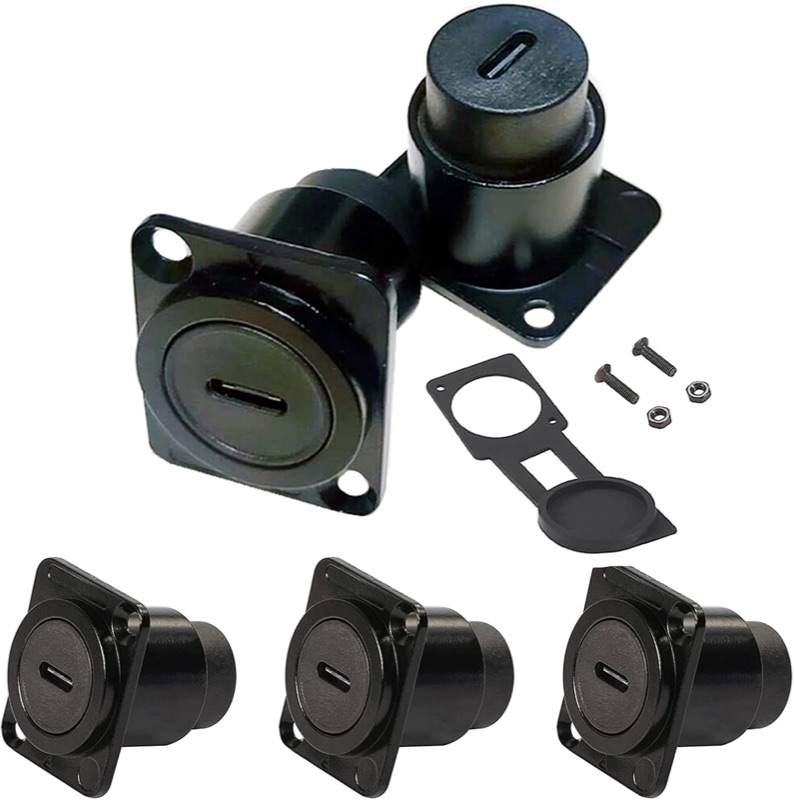
USB-C coupler
USB 3.1 Type C panel mount coupler
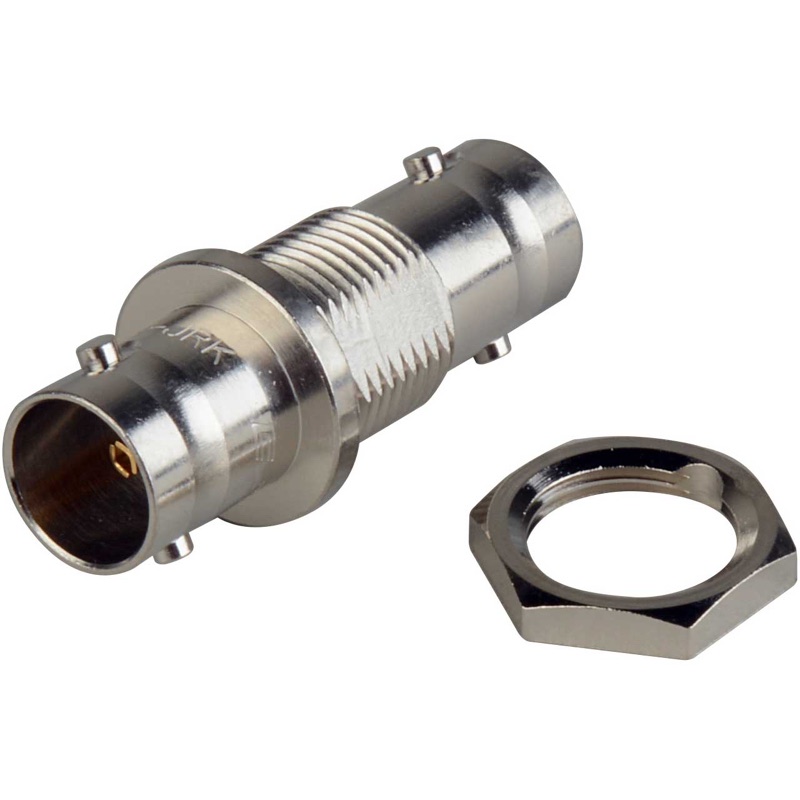
Canare BCJ-JRK
12G-SDI, 75 ohm BNC female-to-female panel mount barrel
GIVE THE RECEIVERS A HOME
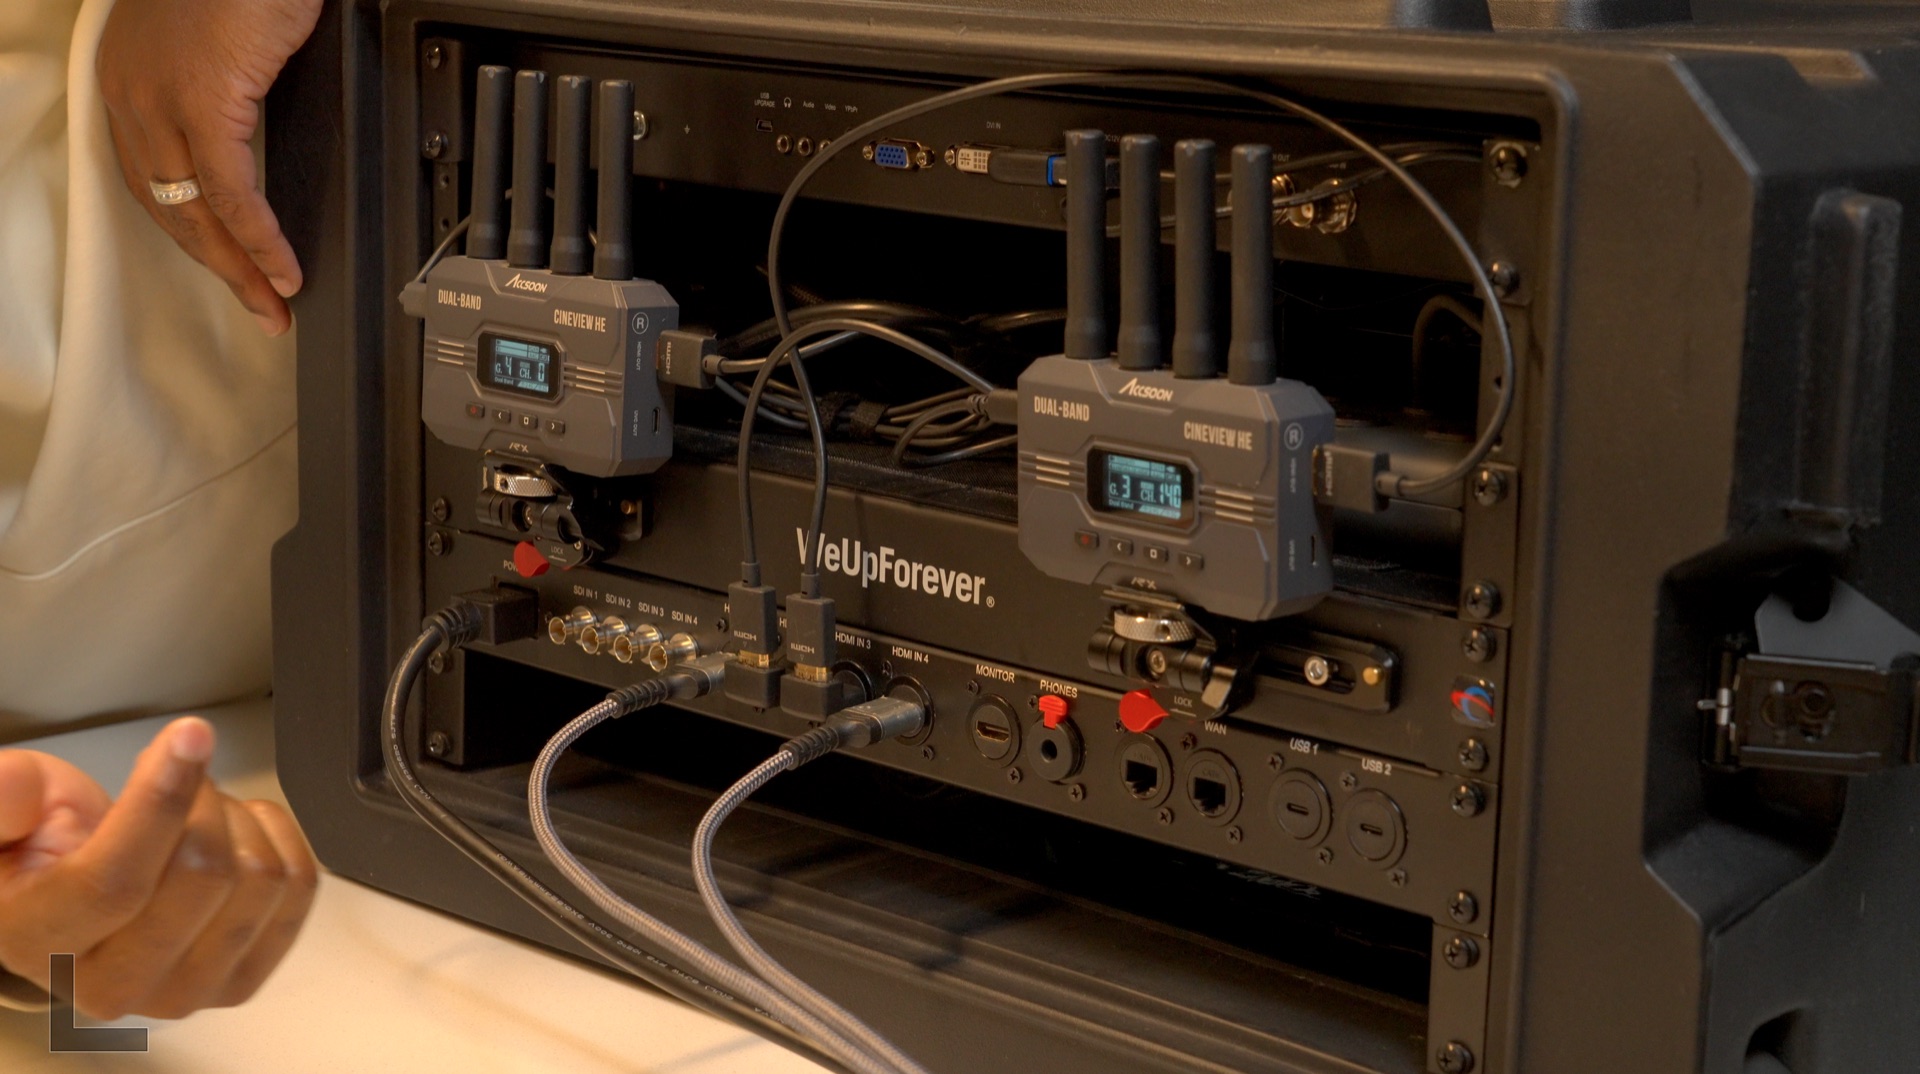
WIRELESS RECEIVER RACK
A dedicated panel for the receiver mounts, with room to position them for your build.
Set the spacing for your setup.
My mounting holes are 45 mm apart, center to center. Rearrange the hole positions to best fit your build.
PENN ELCOM PANEL DESIGNEROpen my receiver panelID / 635035-7d7780Position each pair to match your rail.

THE MOUNTING HARDWARE
02 PARTS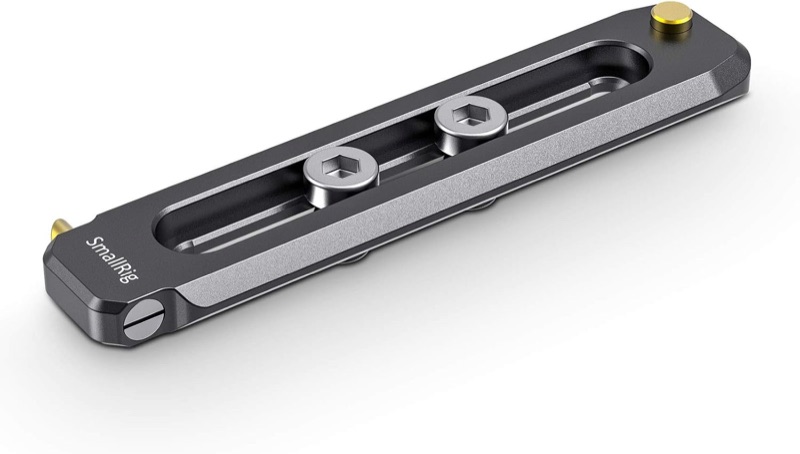
NATO rail
The mounting rail used on my wireless receiver panel.

1/4-20 nut
Hardware for securing the rail to the panel.
IN THE PANEL DESIGNER
ADDING THE MOUNTING HOLES
Choose a custom circle.
In the Custom section, select Circle to add a mounting hole.
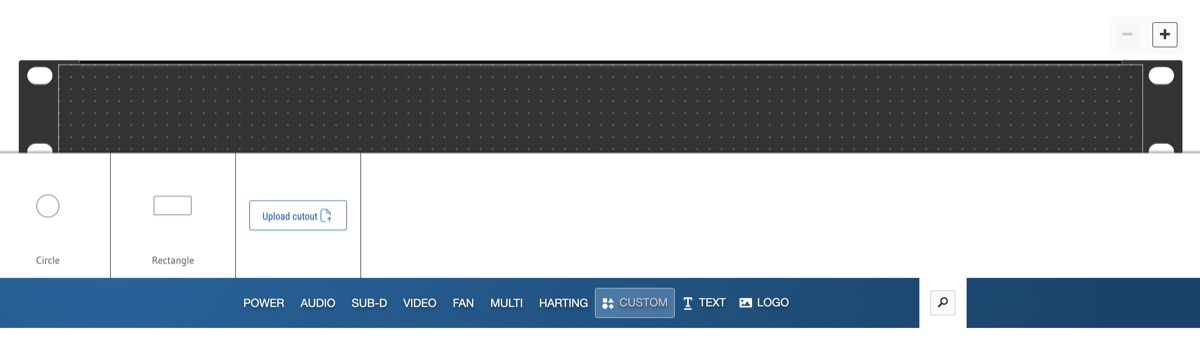
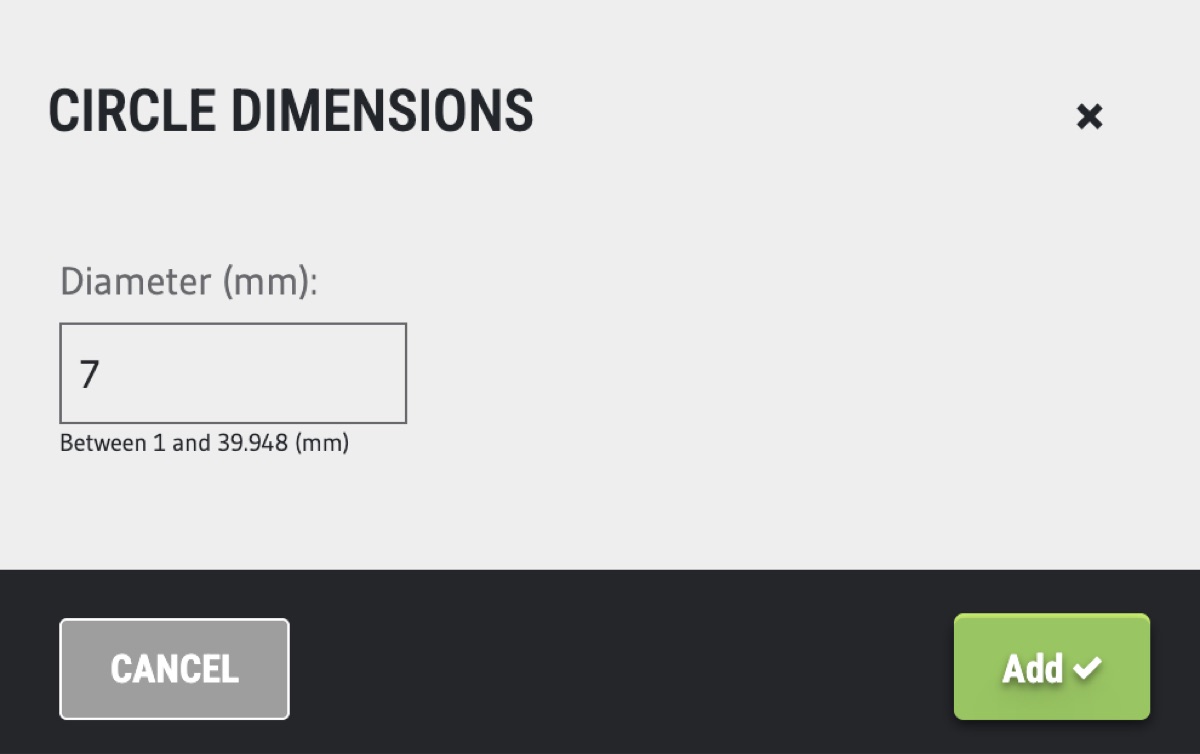
Set the diameter to 7 mm.
This is the hole size used in my panel for the 1/4-20 screws.